Photoshop Tutorial: Typography and Photo Combined Effect
Today’s Photoshop tutorial is about typography. If you’re familiar with the famous text with combination of image effect, then get excited because this is a great tutorial for you.
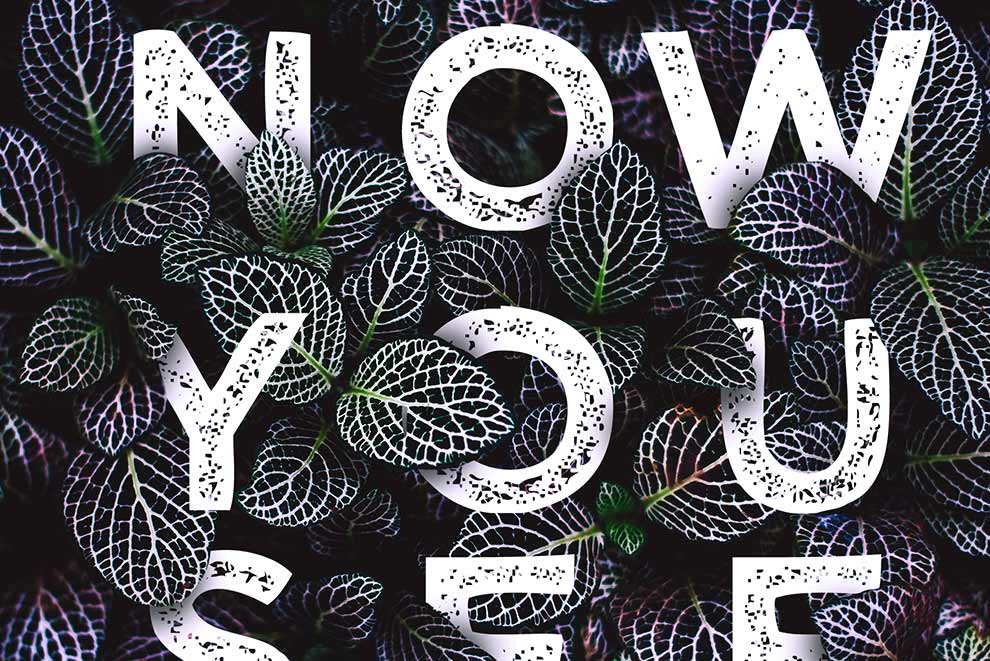
Integrating the type into a photograph is an awesome technique that we see designers love to use.
It is a method where designers combine photo and type creating a realistic effect where both seem to coexist in the same space.
Photograph and typography integration is a popular design trend which is widely used on marketing and promotional designs. You can create this effect using Photoshop in few simple steps.
Combine Photo and Type in Three Steps
In this tutorial, we will teach you how to make this effect in Photoshop. Layer masking is the main technique that we will use to achieve this effect. If you know layer masking, then it will be easy for you to do this. If not, here are the steps you can follow:
- Tutorial Complexity: Easy
- Duration: 15 to 30 minutes
Unlimited Downloads:
1,500,000+ Fonts, Freebies & Design Assets
by

Step 1 – Prepare the Image
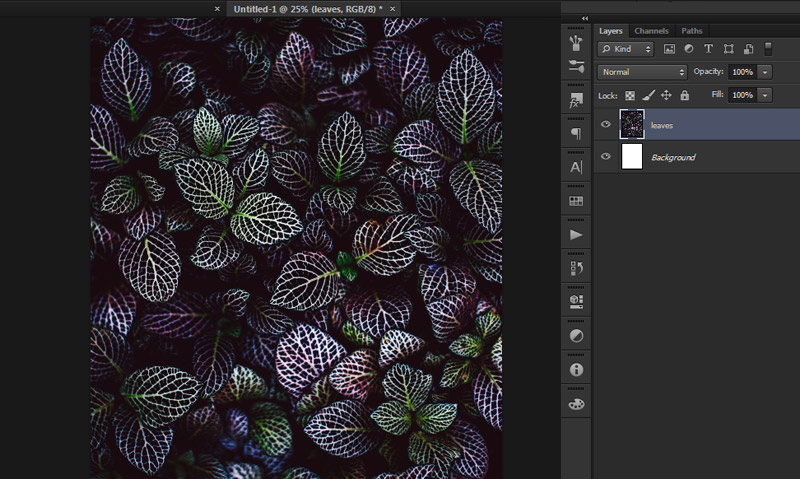
I chose this leafy background from unsplash as the photograph. Open the file in Photoshop and rasterize the image, Layer > Smart Object > Rasterize. Adjust the contrast of the image using Auto Tone. Click on Image > Auto Tone.
Step 2 – Insert the Type
Now we will place the type over the leaves image. I chose the font “Wicked Grit” from dafont because this font looks great with the background image. You can choose your own font depending on your design. Just make it appropriate with the image you selected.
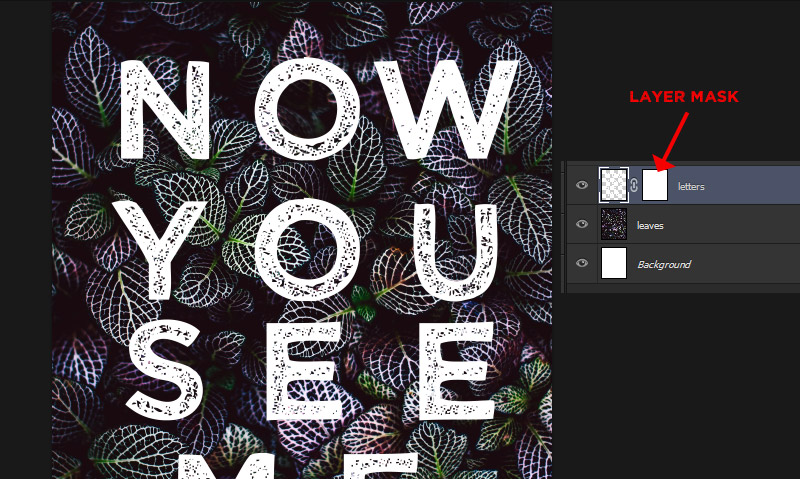
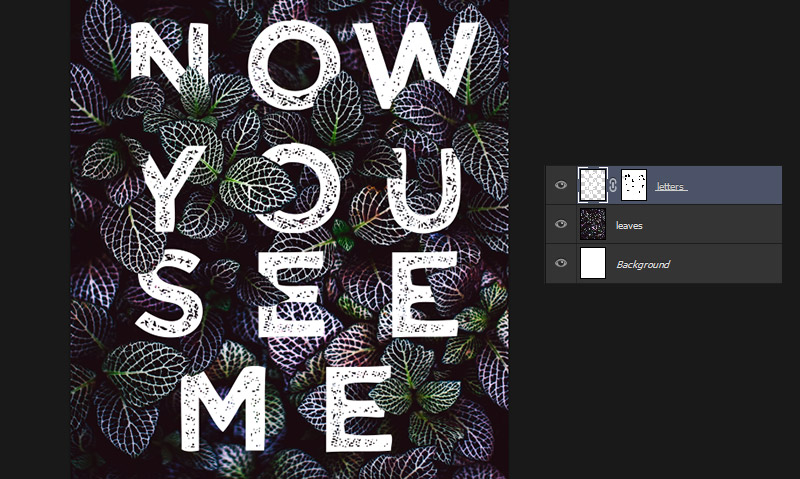
We will type in the phrase “NOW YOU SEE ME” in separate layers. Position the letters where you think it will look at its best.

If you’re satisfied with the position of the letters, select all the letters and then combine it all into one layer. To do this, highlight all layers containing letters, choose Layer > Merge Layers or Ctrl + E (windows) / Cmd + E (Mac).
Step 3 – Add the Effects
Now for the last step, we will simply combine the typography and the photograph. To achieve the realistic effect, we will then put more design details on both layers.
Highlight the letters layer then choose Layer > Layer Mask > Reveal All to create the layer mask. You’ll notice a white thumbnail appear beside the letters layer which is the layer mask.
Select the brush tool and make sure that your foreground color is black (press D). Click on the layer mask thumbnail because that is where you will use the brush tool.
Lower the opacity of the letter layer around 50% in order to reveal the leaves behind the letters. Brush over the letter to expose the leaves image.
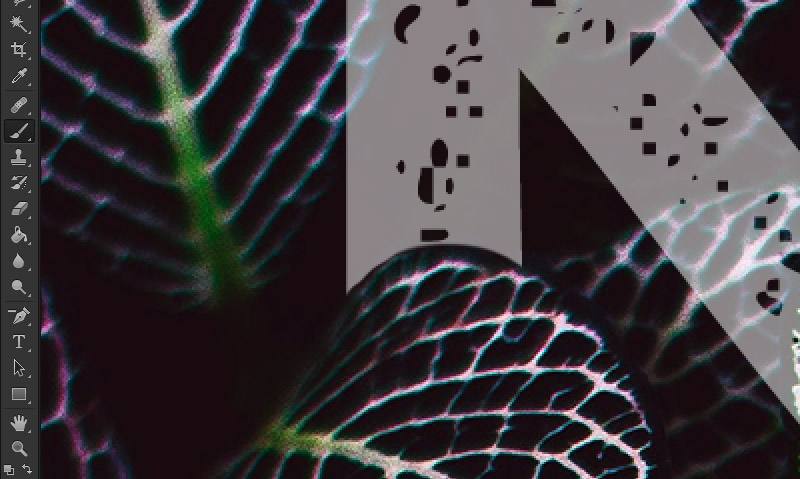
Tip: If you over-erased a portion of the letter, just change the brush color to white and brush over the deleted part to undo the mistake. We used layer mask because it is a non-destructive technique. It means the letters layer is not fully erased, instead it is just hidden under a mask.
Brush over each portion of the all letters to make it look like it is hiding from the leaves. It should look like the image below.
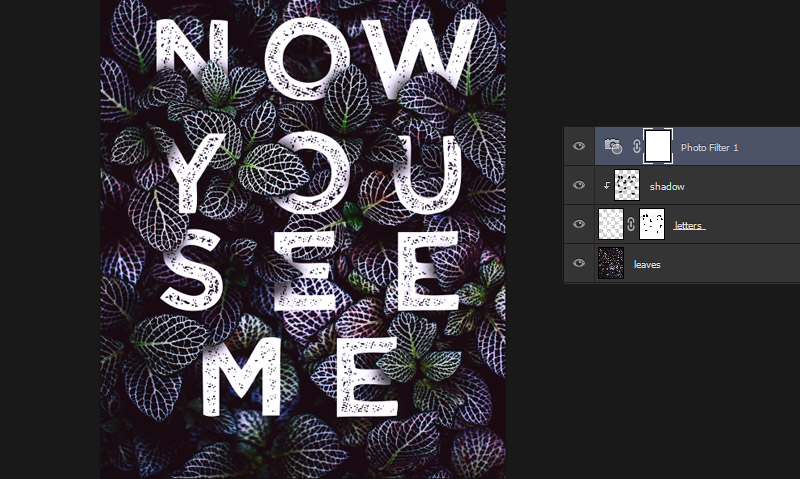
We are almost complete. For the last part, we will add shadows to complete the process.
Add new layer above the letters layer, Layer > New > Layer. Convert the new layer as clipping mask, Layer > Create Clipping Mask.
Using the brush tool, make your foreground color black. Brush over the letters to produce a shadow effect from the leaves. Do this to all the letter and you’re done! Add some layer effects if you must to create more style.
I hope you learn new ideas and tricks with this tutorial. You can now use this technique on your design projects. Experiment on different images and show us your awesome design.
Thank you and please share it to your fellow designers to help them too. More tutorials from the list below. Cheers!