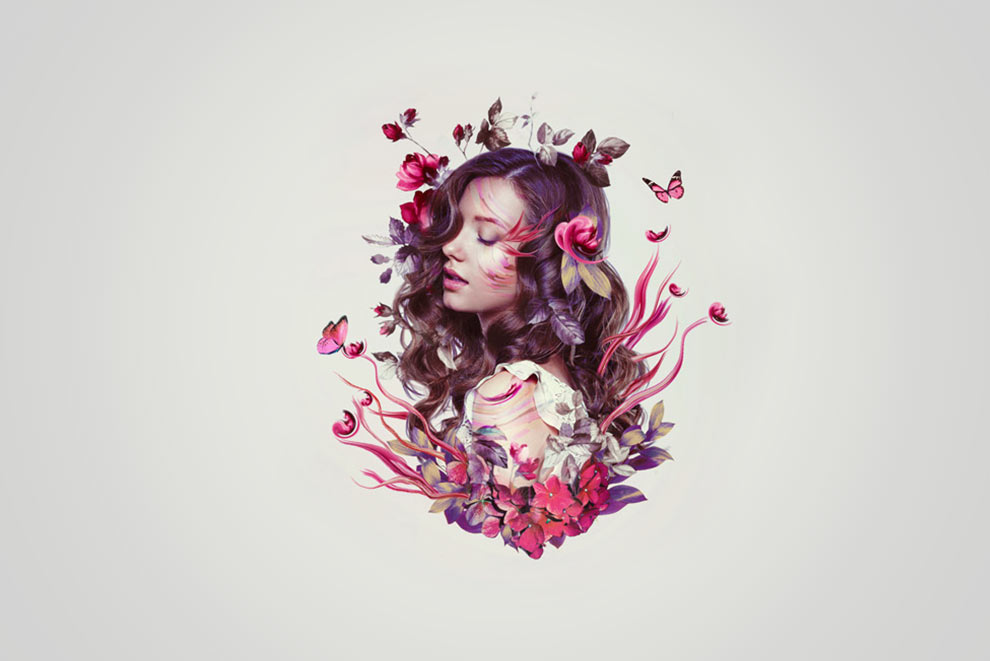
Photoshop Tutorial: Double Exposure Effect

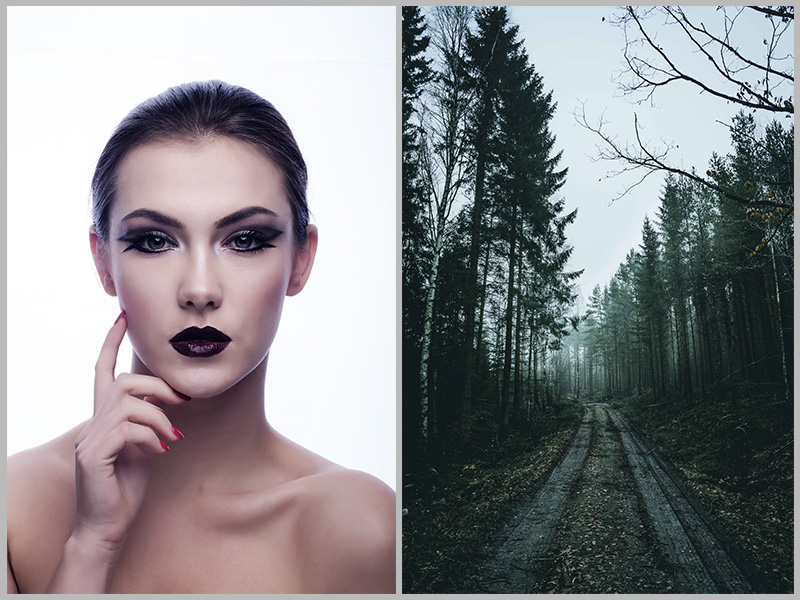
Photoshop Tutorial Double Exposure Effect. Not long ago, double exposure effects on images were originally created using cameras. In the modern days, it can be created digitally using Photoshop or other design software. It has become a popular trend these past years too. It’s a technique where two separate photos are combined together forming a new artistic image. Usually, the photos used in this technique are portrait and landscape.
Today I will show you how to create a double exposure effect in Photoshop. Double exposure effect is very popular today. We see this in advertisements, artworks and digital media design.
How to Create Double Exposure Effect in Photoshop
Unlimited Downloads:
1,500,000+ Fonts, Freebies & Design Assets
by

Step 1: Preparing the images
Select your portrait and landscape images. The images that I used in this tutorial are from free sources websites.
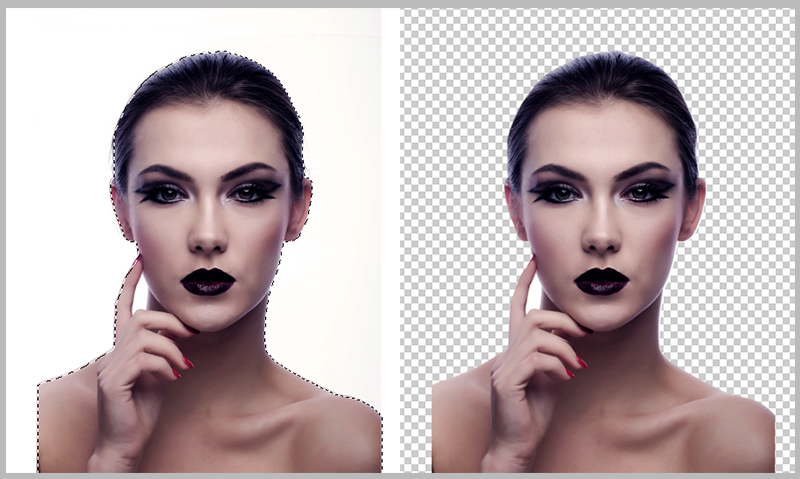
Open the first image in Photoshop which is the portrait of a beautiful lady.
Using the Magic Wand Tool click on the white area around the lady. Click on the menu Select > Inverse to select the lady. Right click anywhere in the canvas to show options, choose Layer Via Copy.
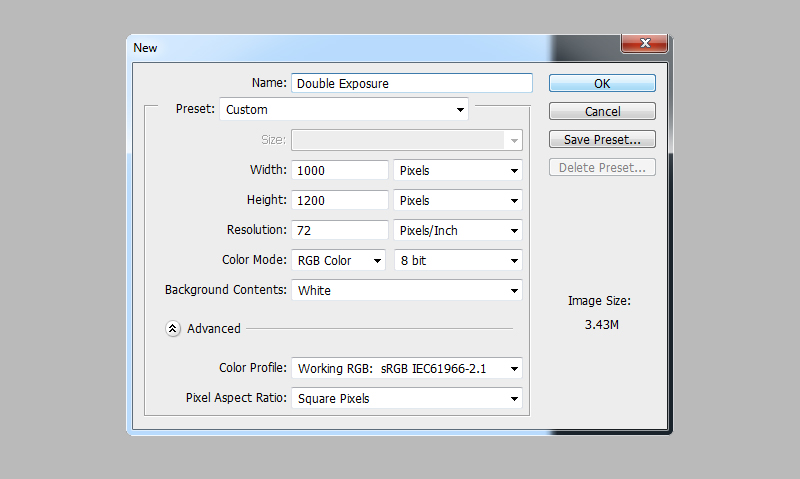
Create a new file. Set the size to 1000 pixels width by 1200 pixels height and set the resolution to 72 dpi.
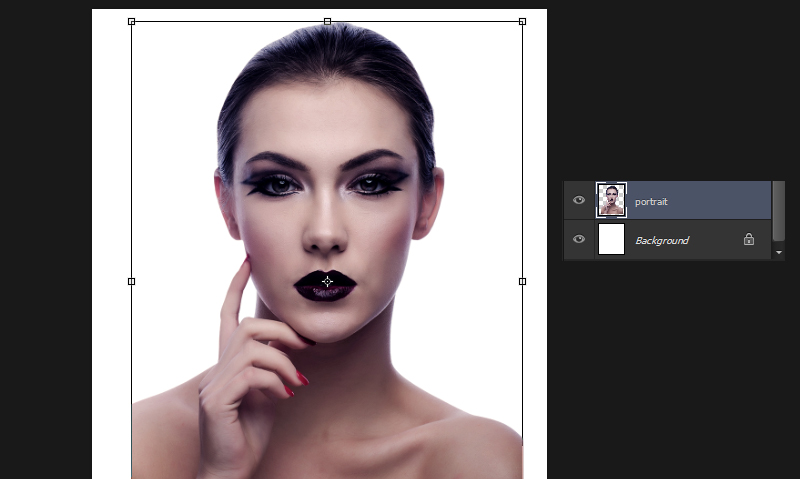
Drag the portrait of the lady to the new file that you created. Rename the layer 1 (image of the lady) to portrait.
Click the menu Edit > Free Transform or press on the keyboard Ctrl + T (windows) / Command + T (mac). Adjust the size and position the image to the center.
Step 2: Combining the image to apply double exposure effect
Open the landscape image which is the photo of trees, drag and place it over the portrait layer. Rename the landscape layer to trees.
Lower the opacity of the trees image to 30% so that you can see the portrait layer below. Resize and reposition the trees layer using transform tool Ctrl + T (windows) / Cmd + T (Mac). Choose your desired location where you think the effect will look nice then press Enter to place the image.

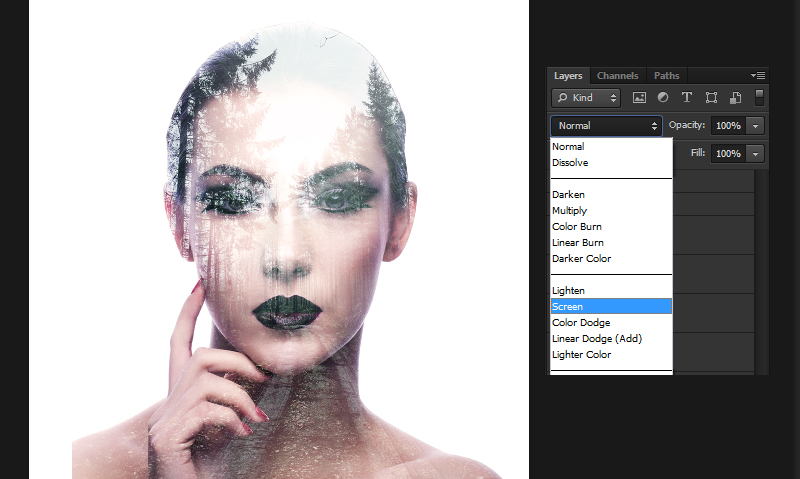
Change the blending option of the trees layer to “Screen” then increase the opacity back to 100%.
Step 3 – Edit and adding detail
Now the main part is done. Few more editing to complete the process.
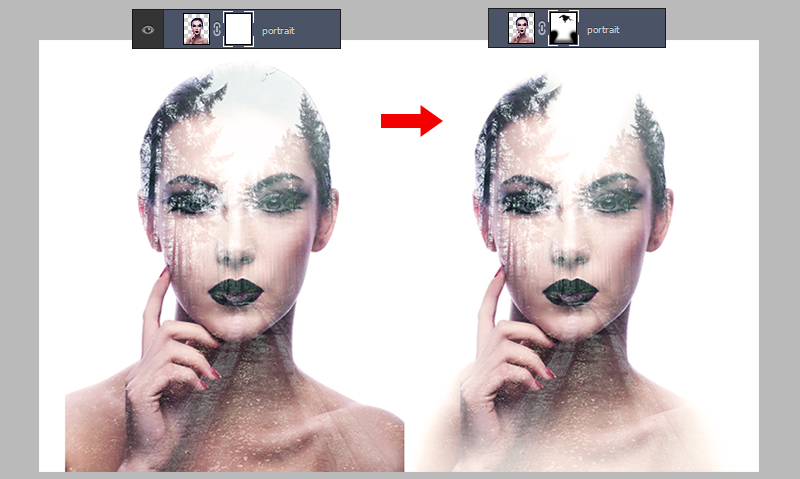
Add a layer mask to the portrait layer. To do this, activate the portrait then on the menu Layer > Layer Mask > Reveal All.
Click on the layer mask of the portrait then select the brush tool and set the opacity by 50%. Pres Ctrl + D (windows) / Command + D (Mac) to set the foreground color to black.
Start brushing at the bottom part to hide the area below the neck. See image below.
Now to show more exposure around the face of the lady:
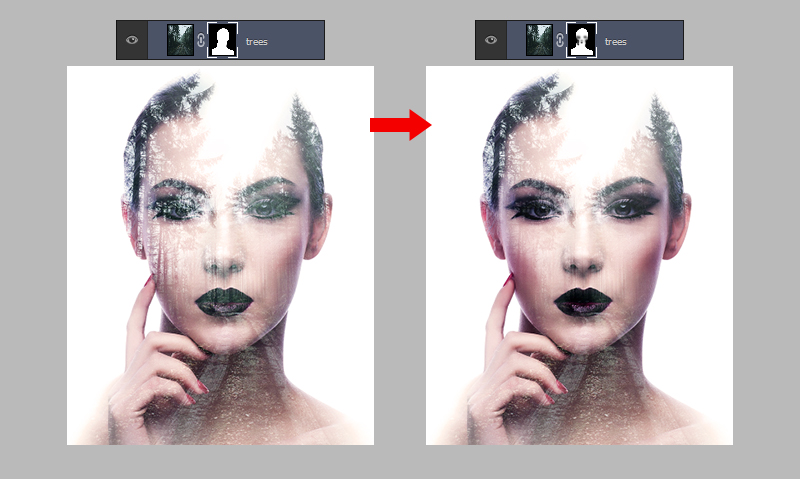
Press Ctrl + Right Click on portrait layer thumbnail to make selection. Activate the trees layer, then on the menu choose Layer > Layer Mask > Reveal All.
Choose the same brush (opacity by 50%) used in the portrait mask. Click on the mask thumbnail of trees layer then start brushing to reveal the lady’s face.
Tip: Brush on the darker areas like the eyes, chicks and lips to make the face prominent, see image below.
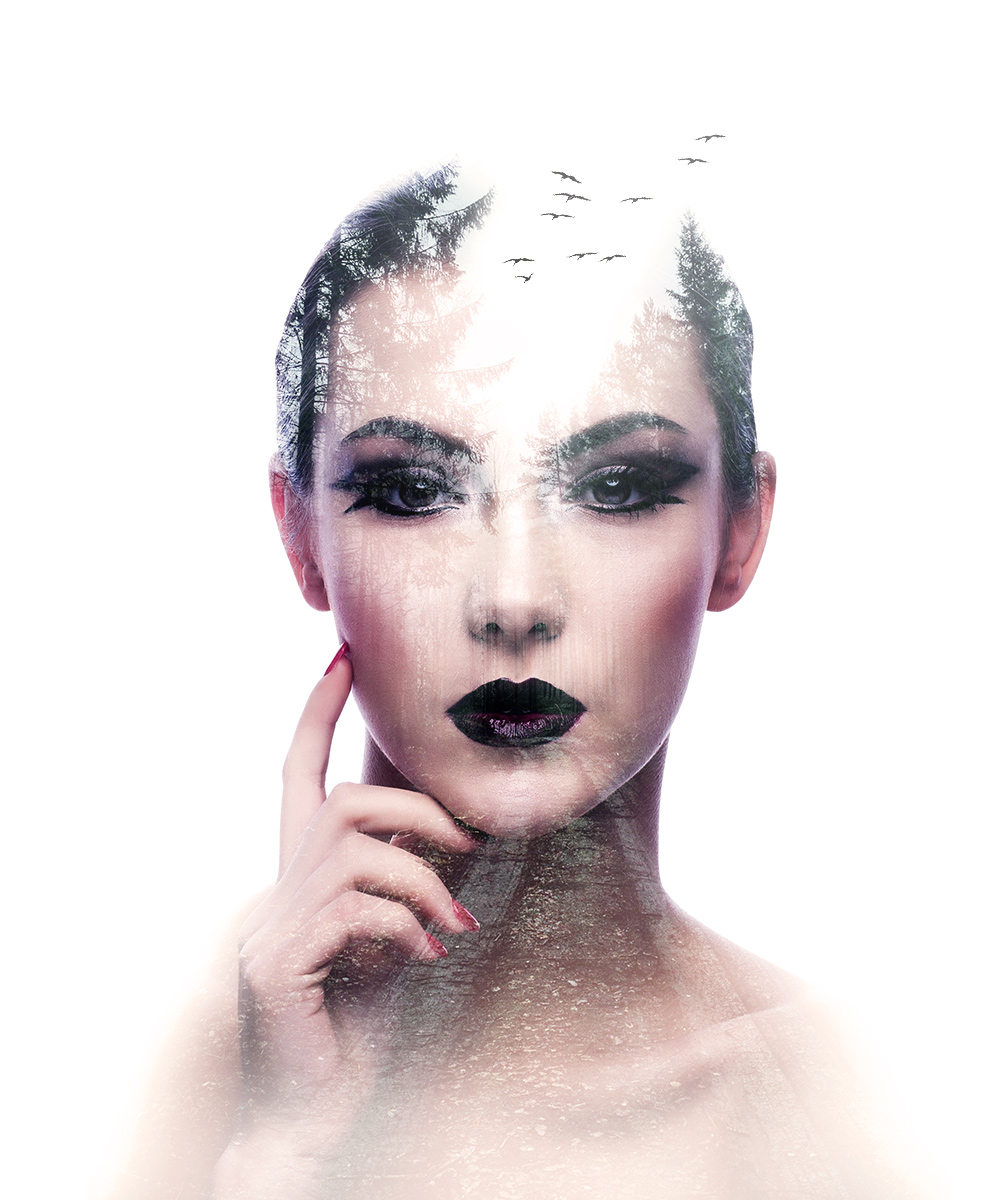
You cac add up some more designs like birds flying at the top of the head to make it look great. This is optional.
Lastly, add some Color Filter and adjust the contrast with Levels then you are done! Here’s the final result.
I hope you learn another trick with this tutorial. Let me know in the comments below if you have questions or suggestions. Share with your friends if you like this tutorial. Thank you for reading this post and stay updated for more.
Related Articles:


2 Comments
Usually I don’t comment on blogs but your post is so persuasive that I never stop myself
to say something about it. You’re doing a excellent job Man,Keep it up.
Best regards,
Thompson Henneberg
Thank you Thompson, have a great day!
Best Regards,
DesignwithRed Team
Comments are closed.